How to Tie a Baby Wrap

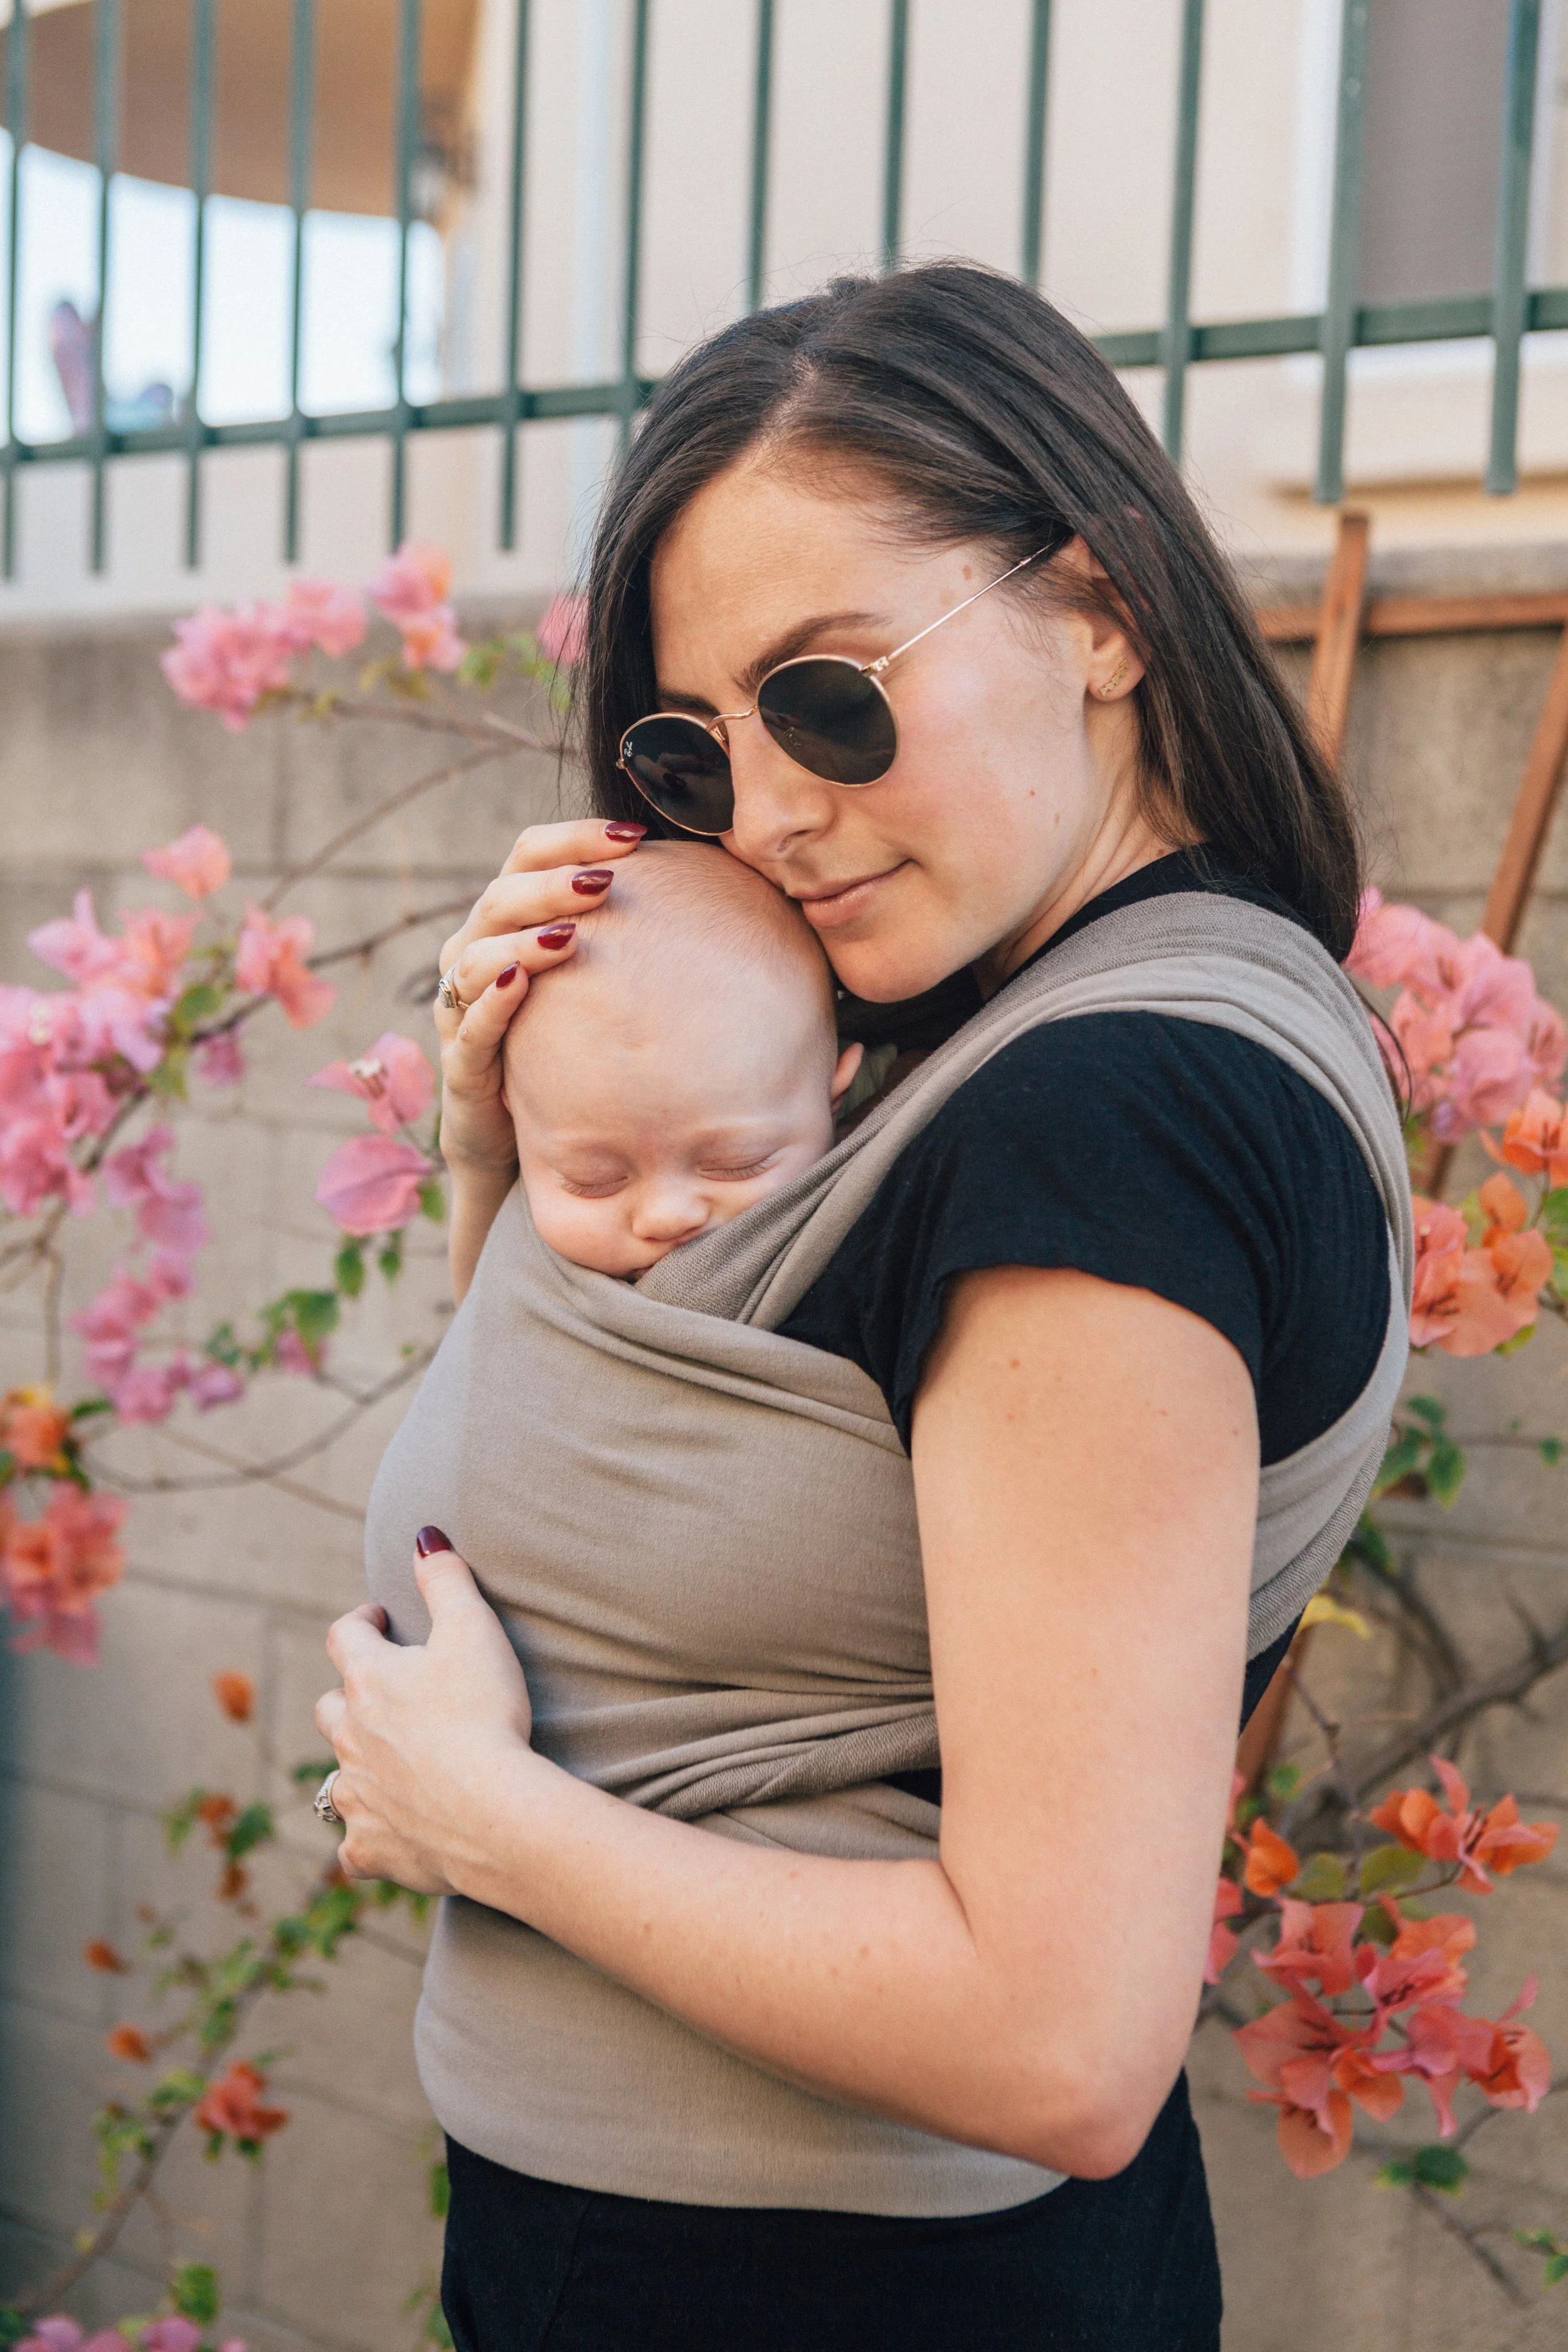
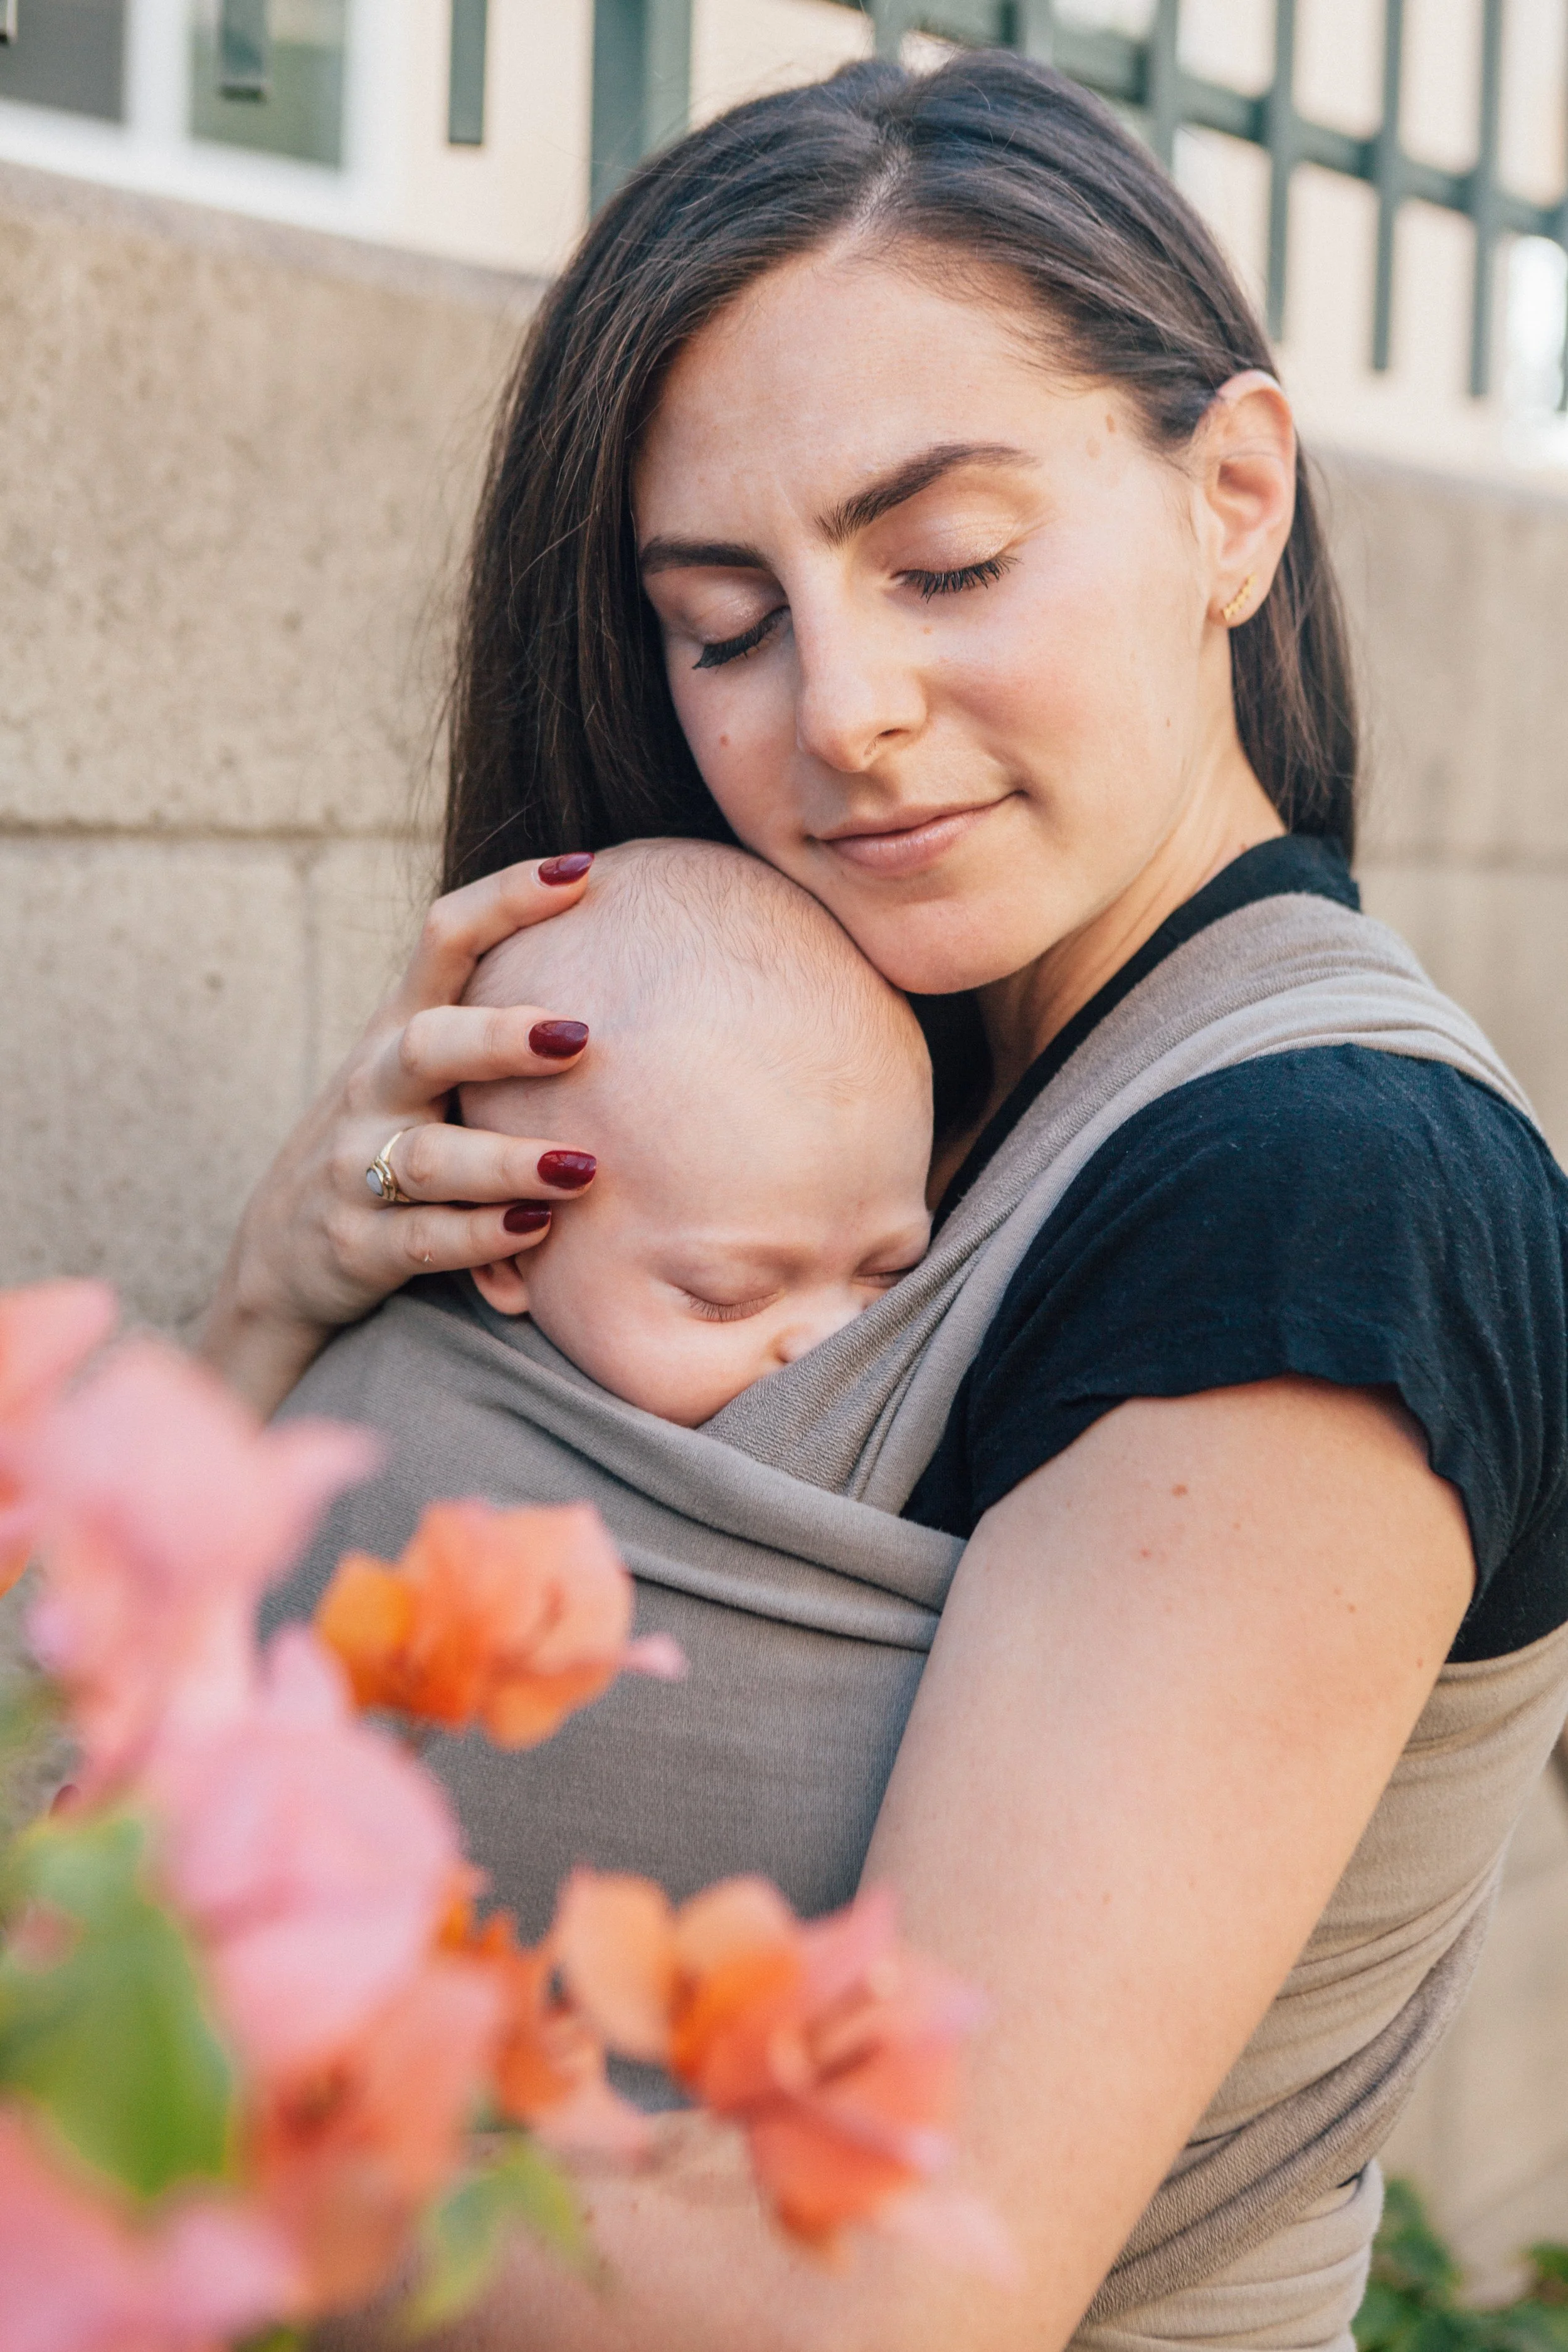
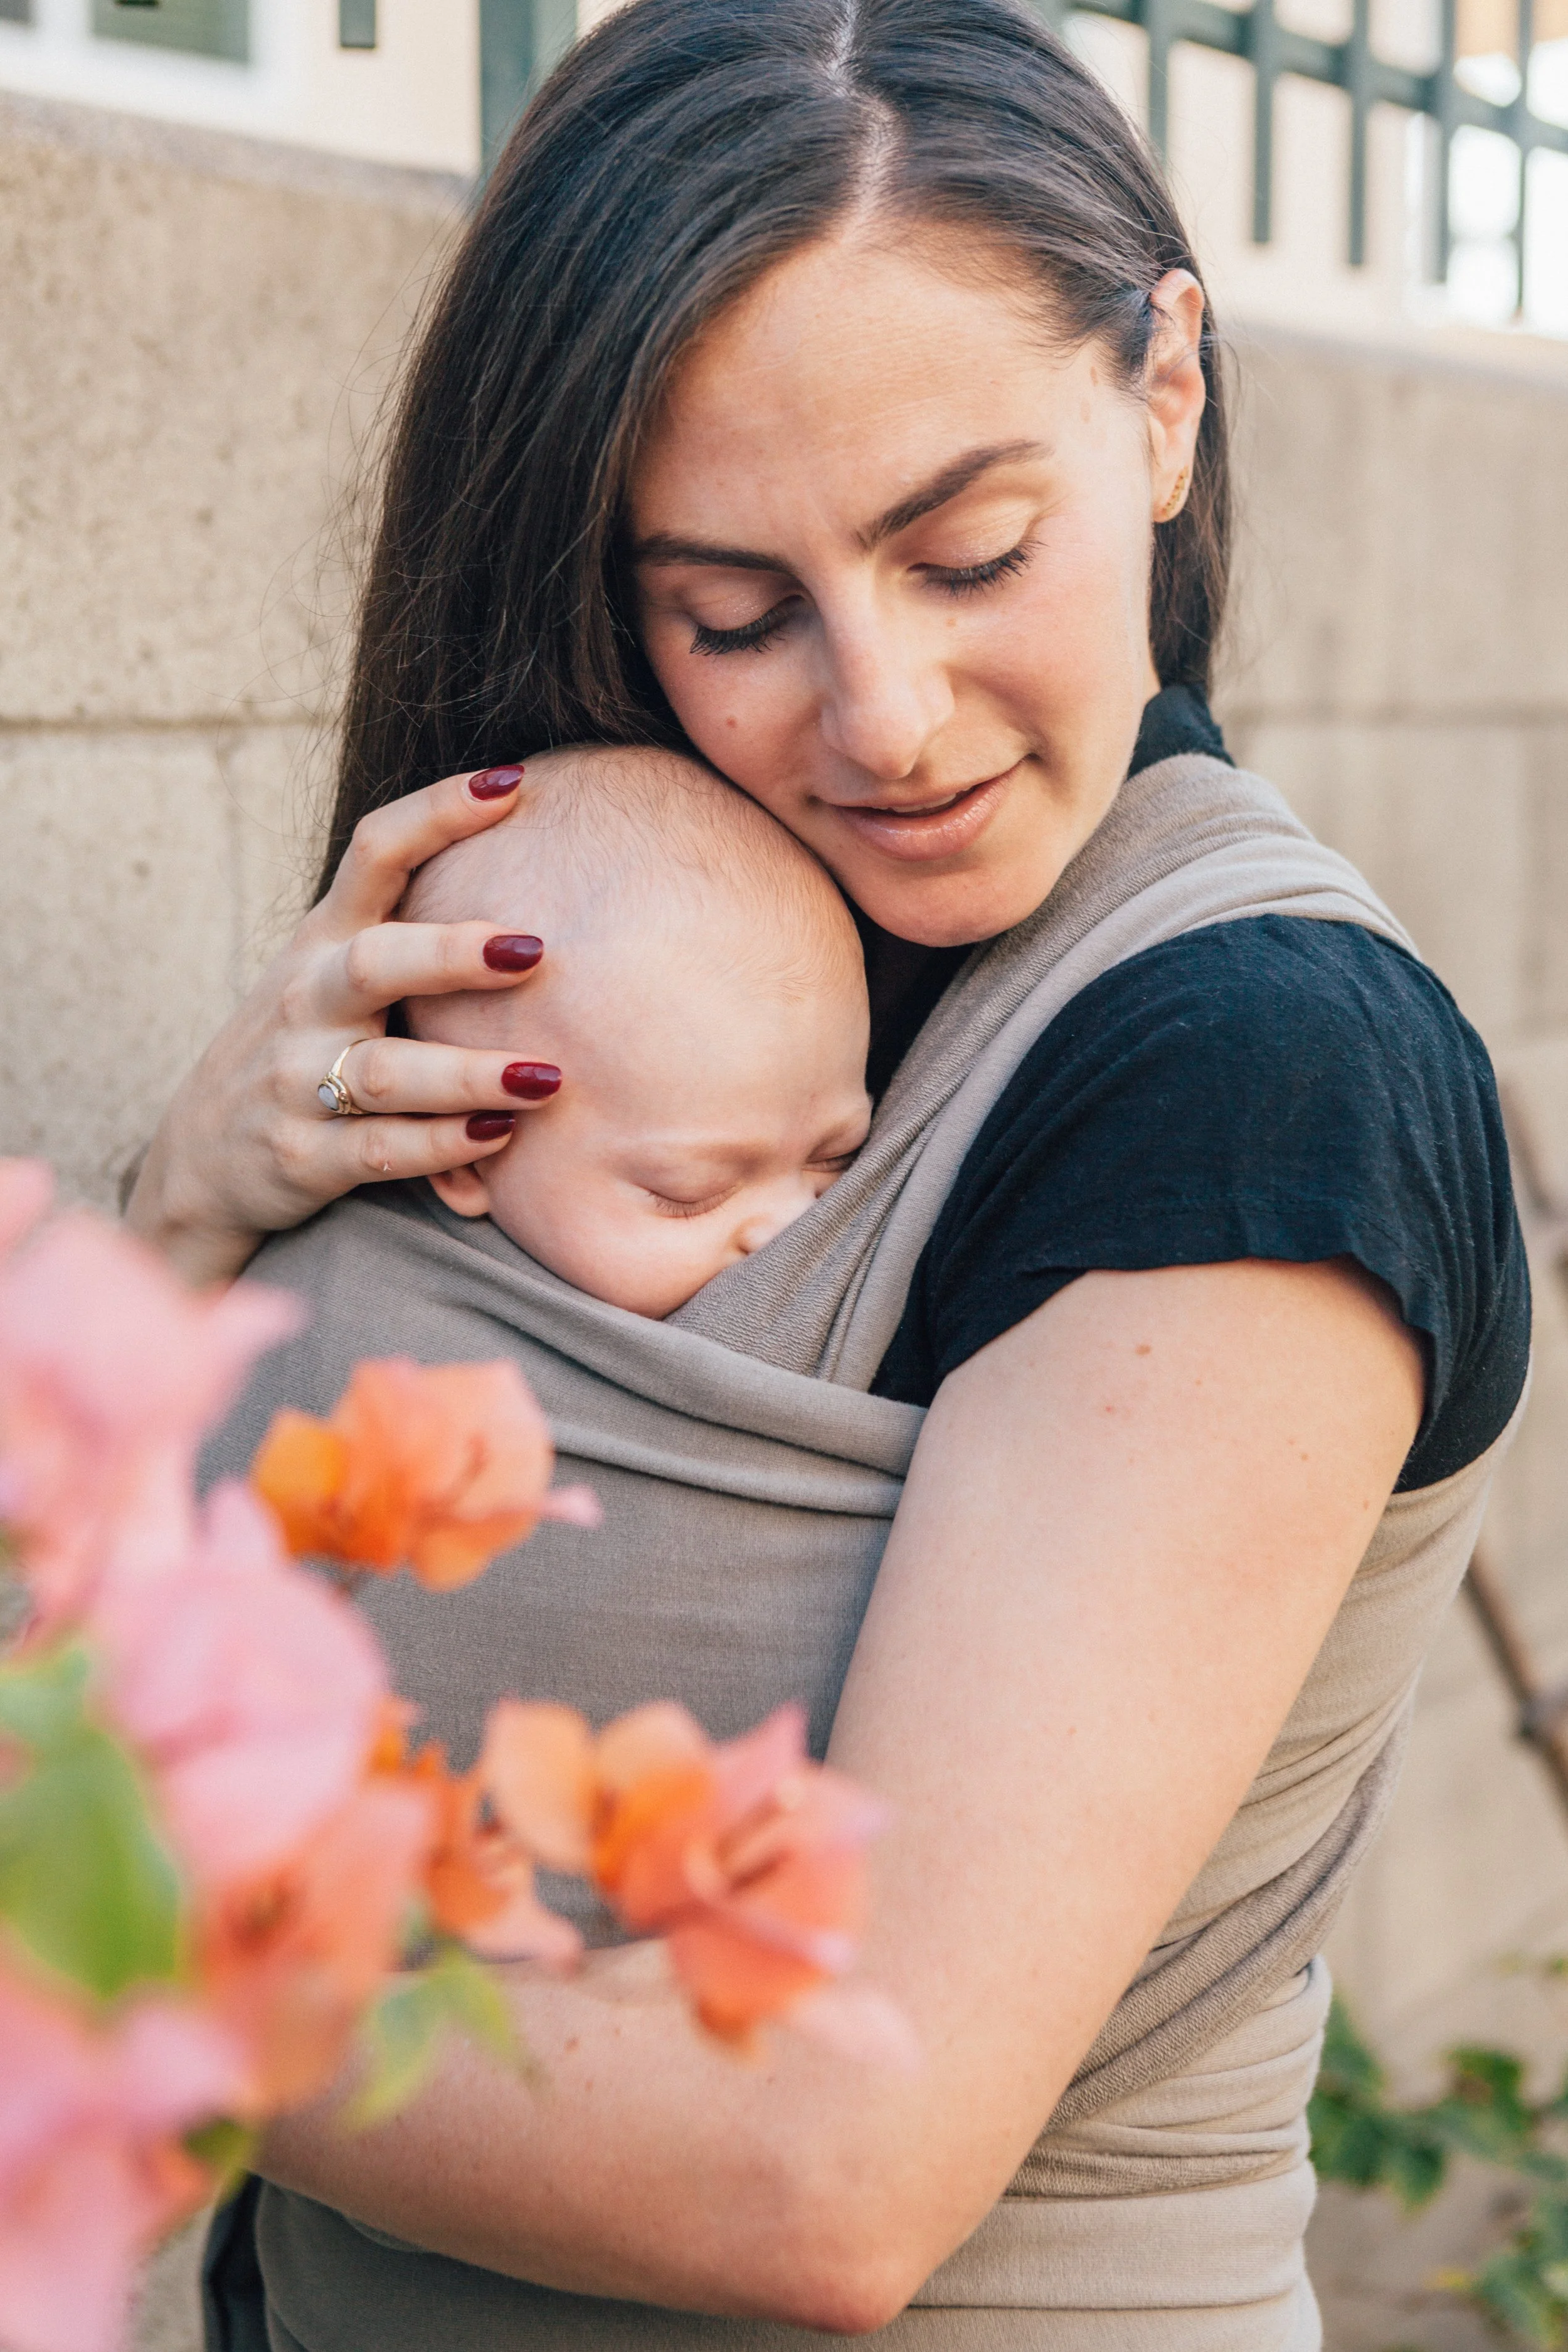
Since giving birth Naiya back in August, I've become such big fan of "wearing" her that I wanted to dedicate today's post to my love for baby wrapping. Over the past few weeks, this has completely changed my life because it's given me the freedom to move around the house and get things done while Phil is working. I love that it also helps me to put Naiya to sleep safely while still allowing her to stay close to me.
Today, I'm featuring the boba baby wrap ($39.99) specifically — a long piece of fabric you basically wrap around your body in a few very easy steps so that you can safely secure your baby inside. I love that you can wrap your baby from 8-35 pounds so learning how it's done early on can come in handy for many months to come.
This post is in no way sponsored — I simply hope that it will help other moms and moms-to-be gain the freedom to go hands-free during the day. I've linked to some of my favorite wraps at the bottom of this post and I've also shared how to tie the wrap itself. I hope you enjoy!


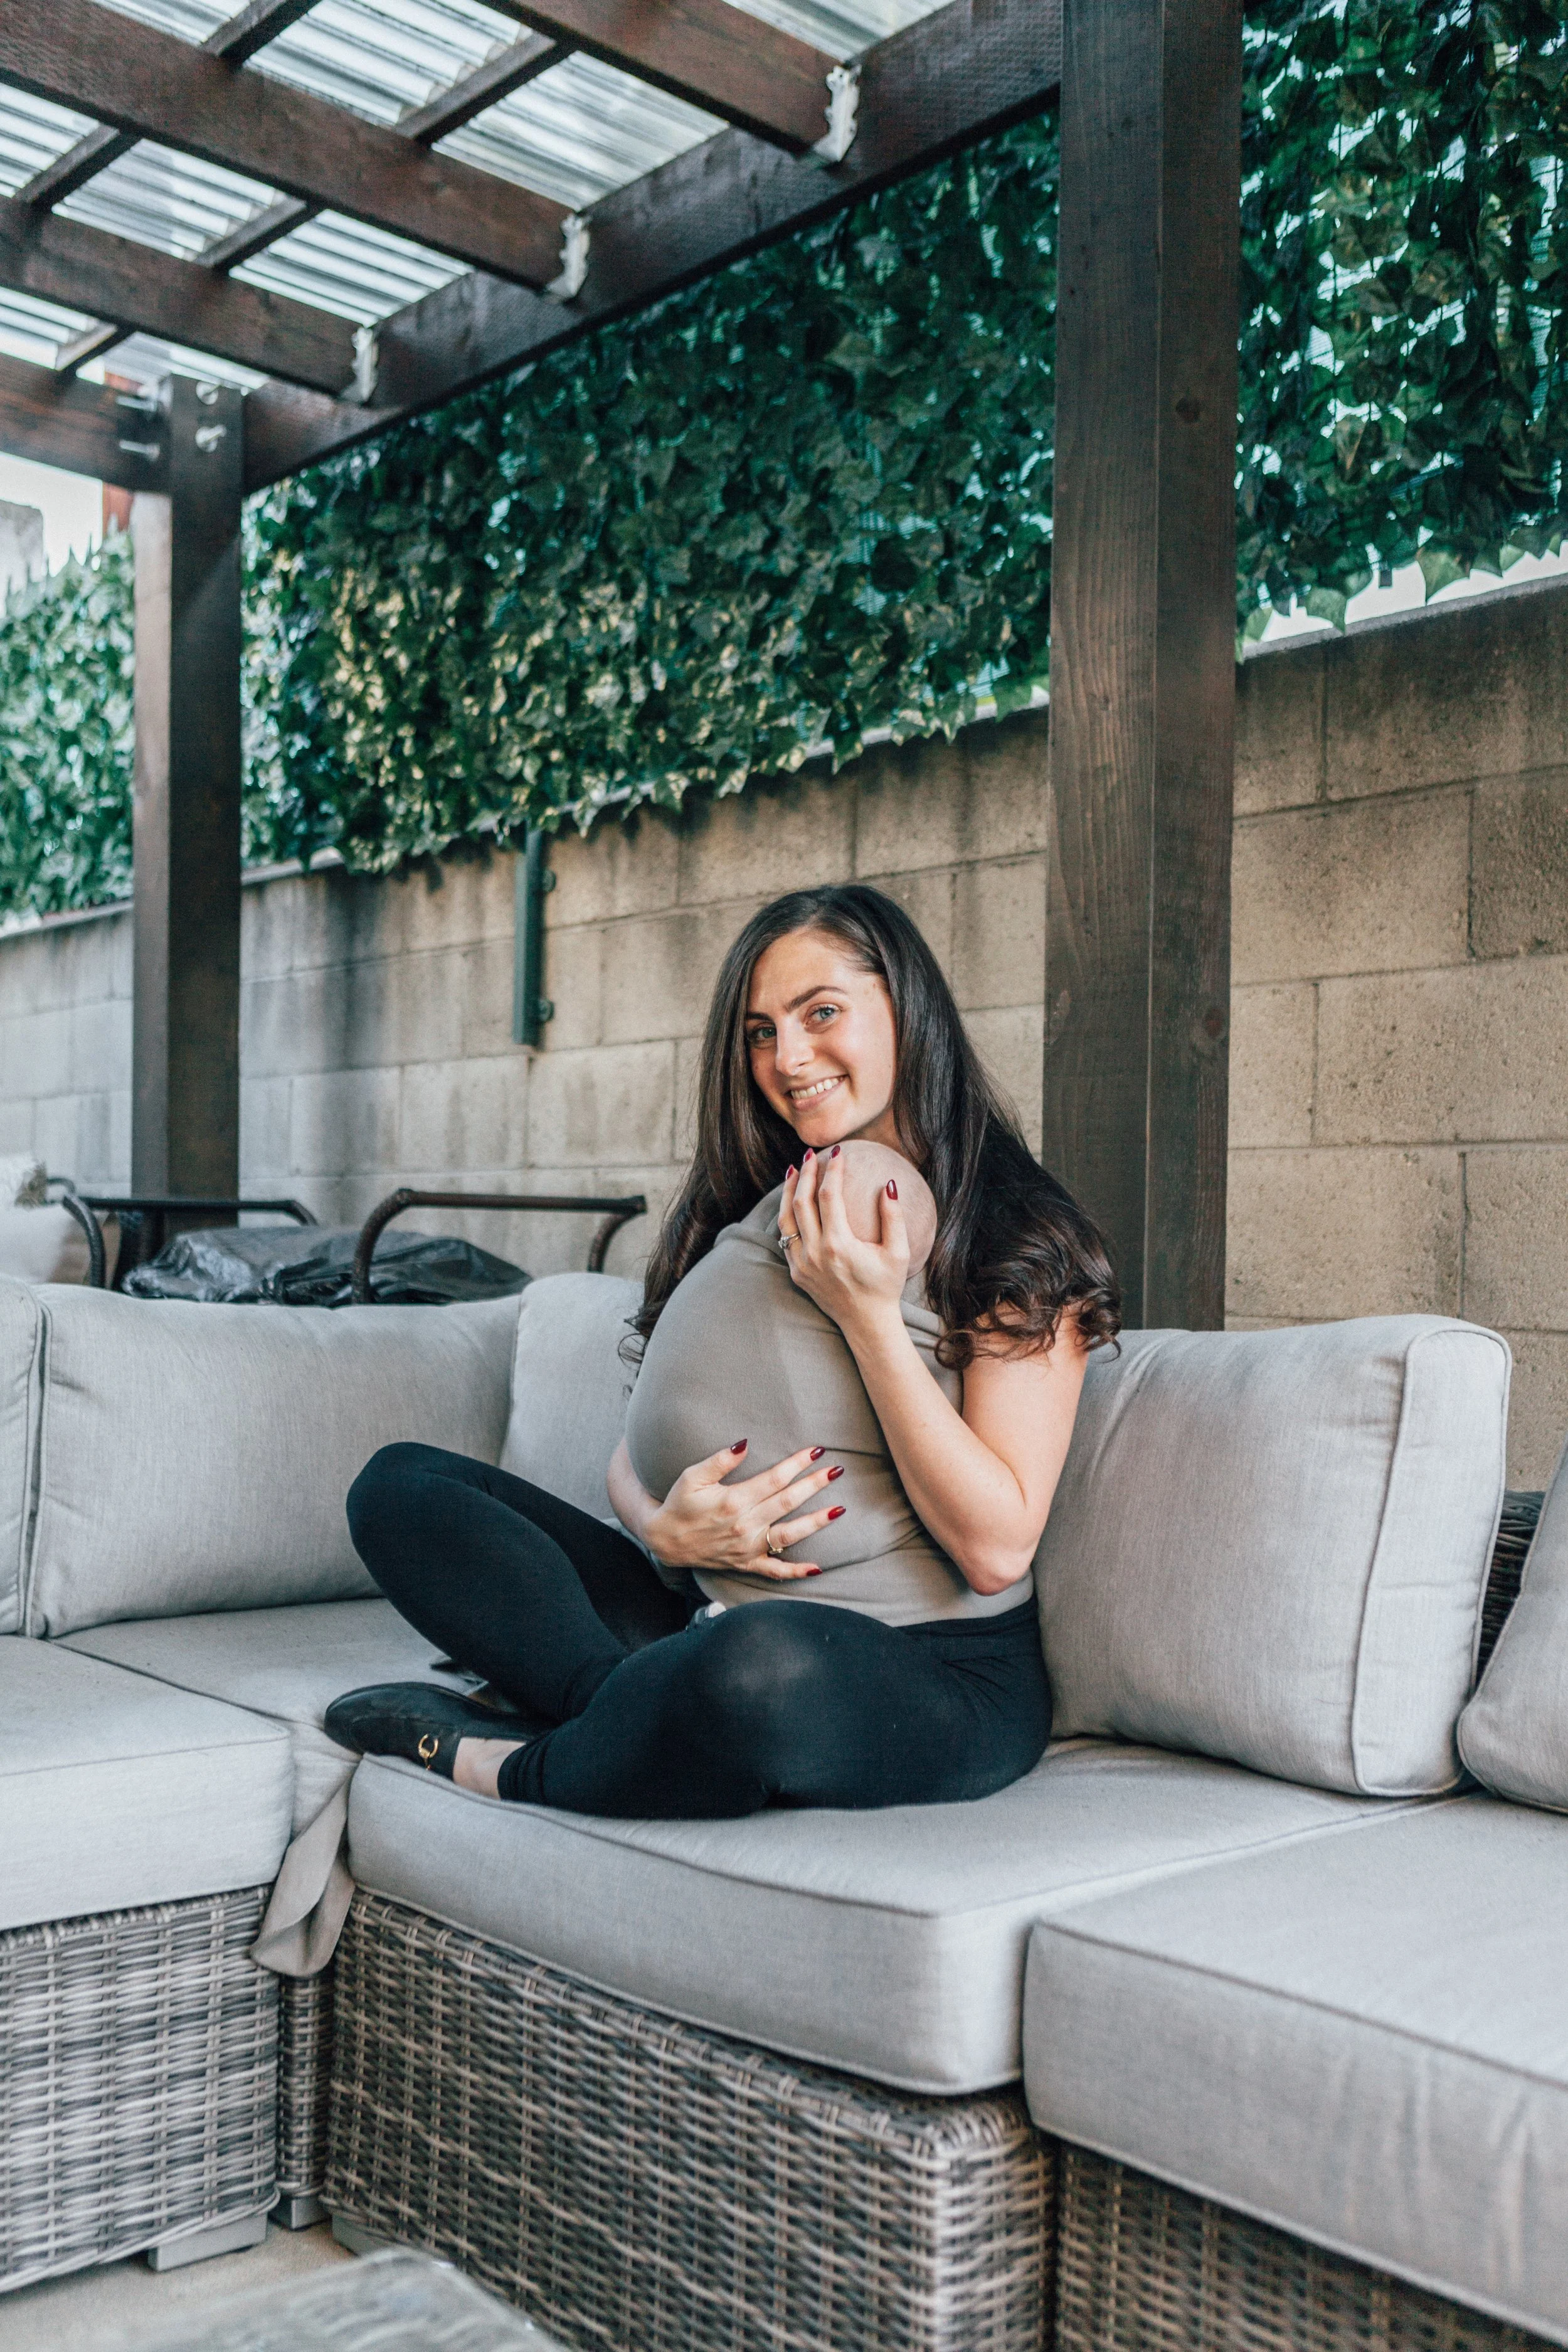
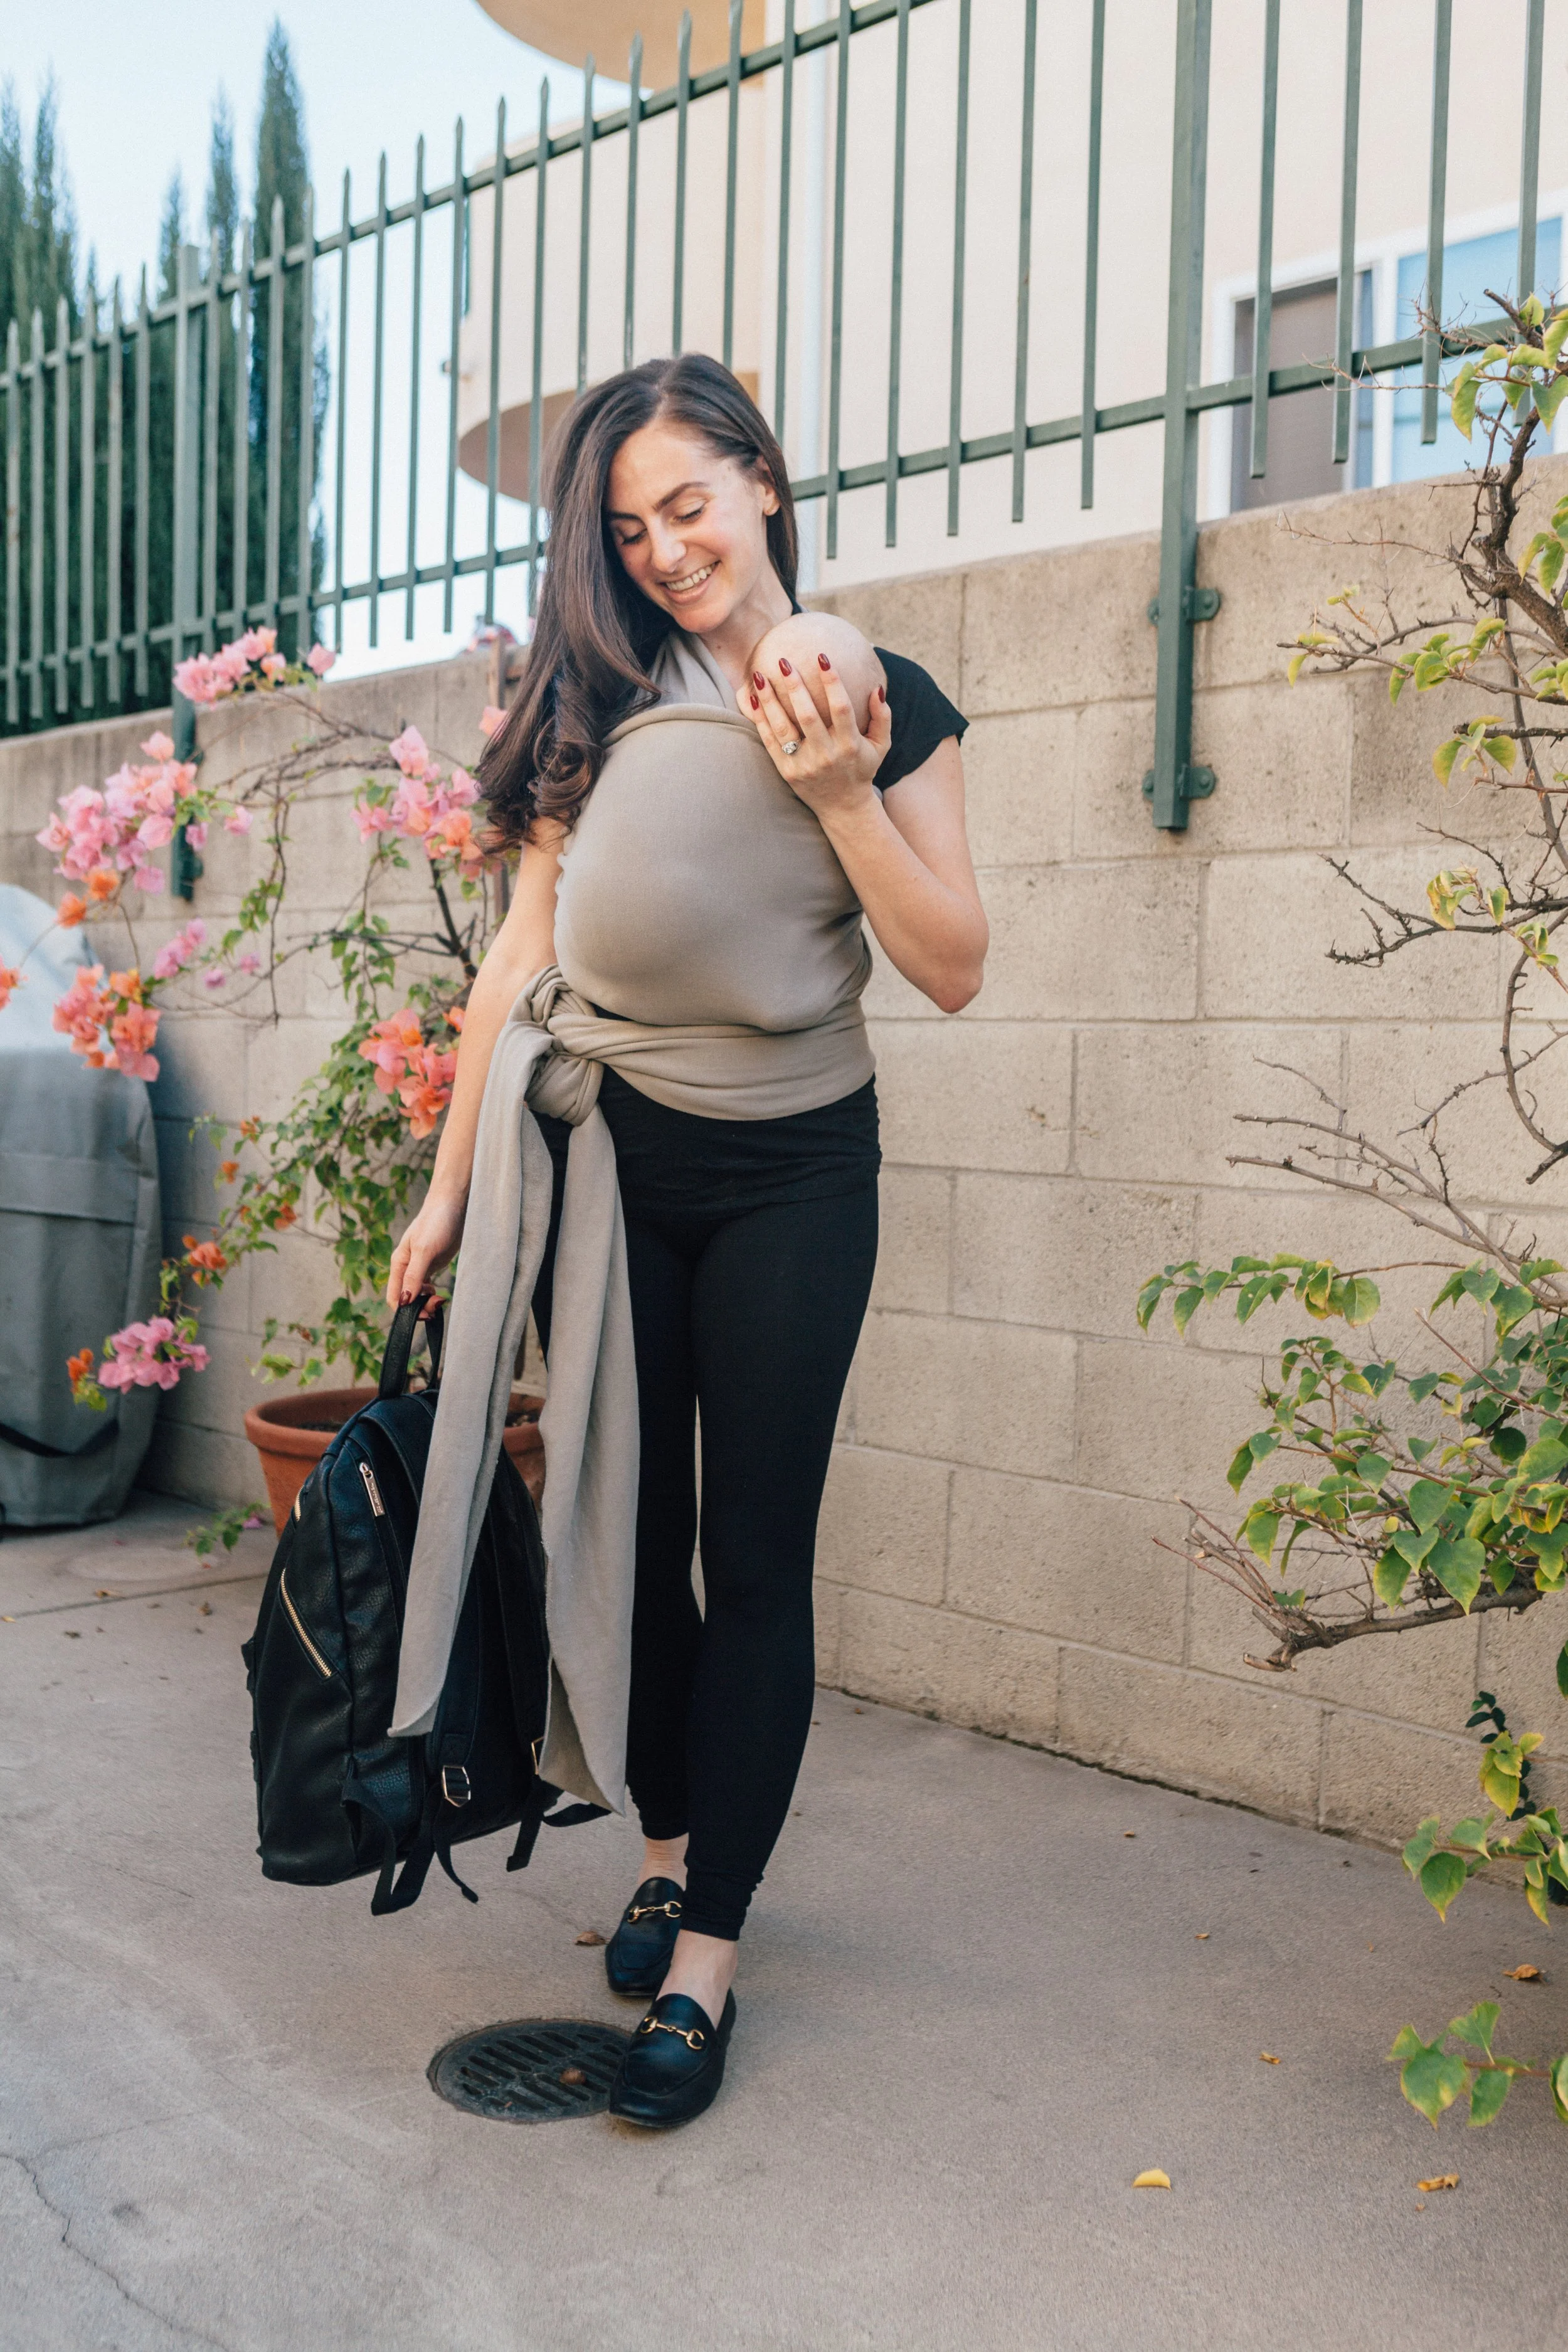
Outfit-wise, I'm wearing Blanqi postpartum leggings that are so comfy, I can't recommend them enough. They are seamless (which has been perfect after my c-section) and they come up super high — above the belly button — for full coverage over the tummy. They're perfect for nursing or pumping so I've been wearing them so much, I should probably invest in a second pair.
They will be going on major sale for Black Friday so if you're in the market for a pair, I'd recommend buying them then. Even if you're only in your first trimester, I'd recommend buying them because they'll work all the way through trimesters two and three too, as well as beyond.


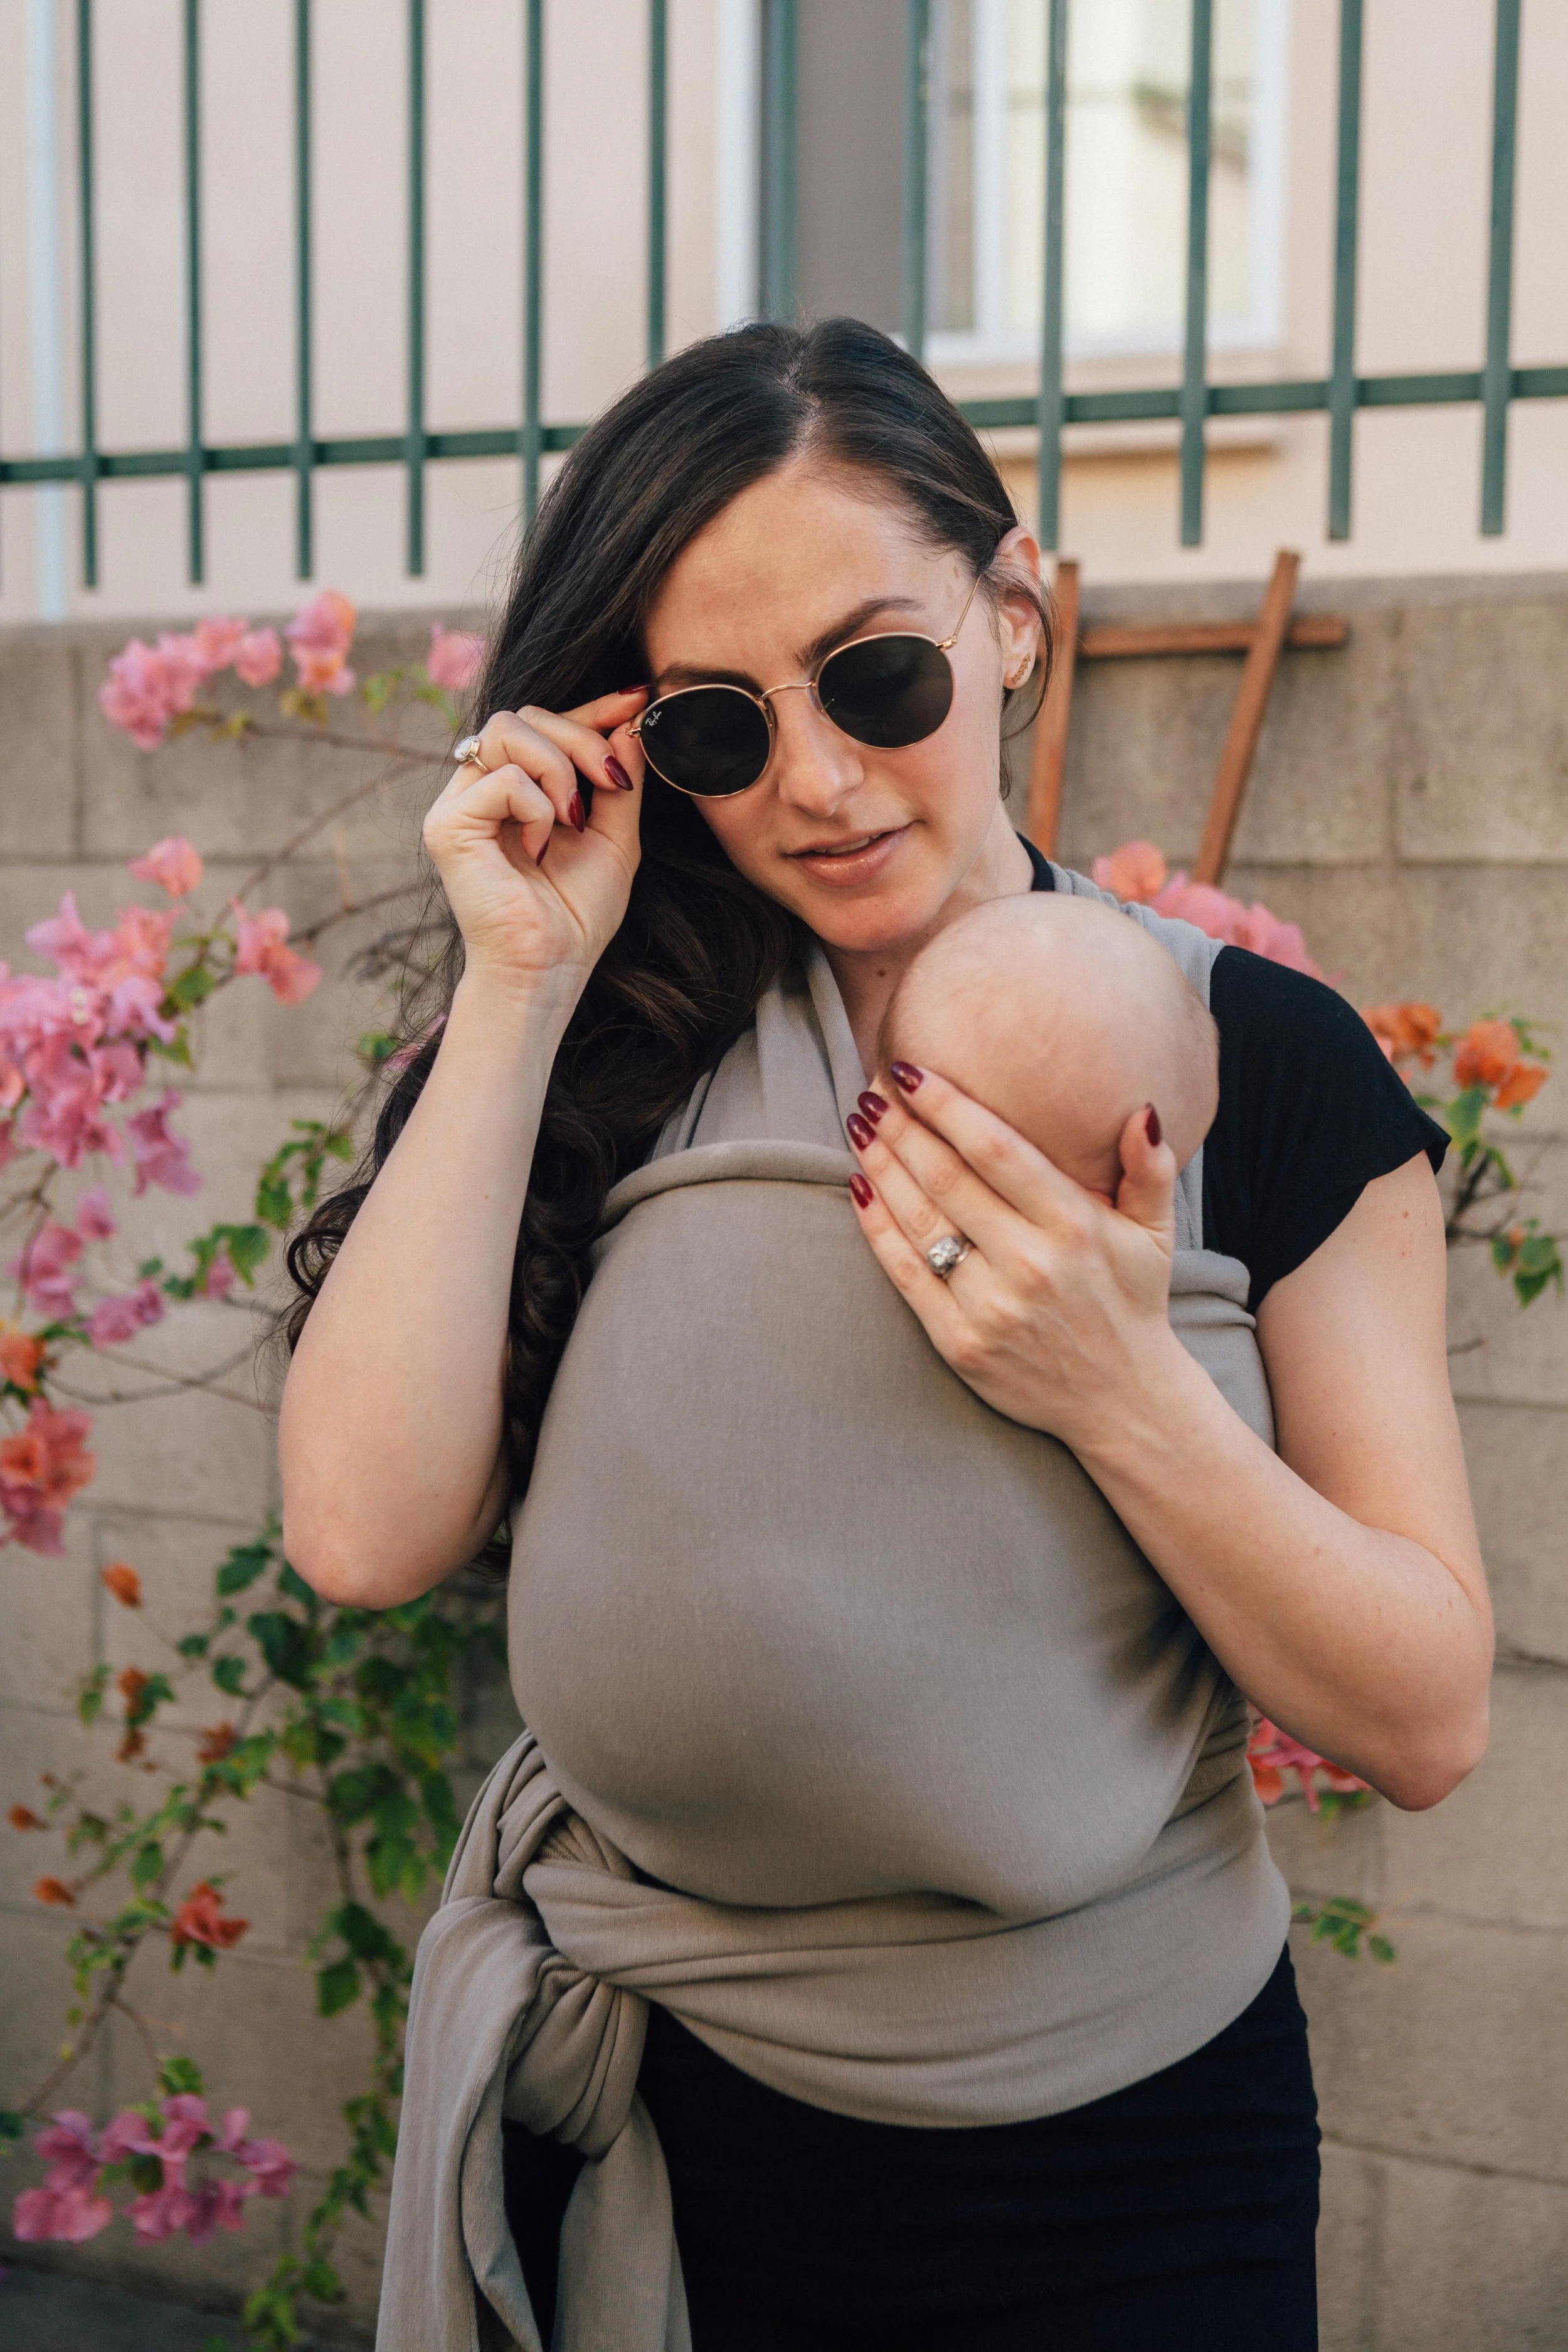
I topped off today's outfit with a simple black tee, loafers and round sunnies. This has been my go-to maternity leave look and it's been both comfy and practical. I also brought along my diaper bag by the Honest Company. I absolutely love this backpack! It's the perfect size, it's made of vegan leather, it has just the right number of compartments and I love the section at the front for bottles. It's definitely saved me time and time again because it keeps Naiya's bottles cold for hours.


How To Tie The Boba Baby Wrap:
(Photos to further help can be found here)
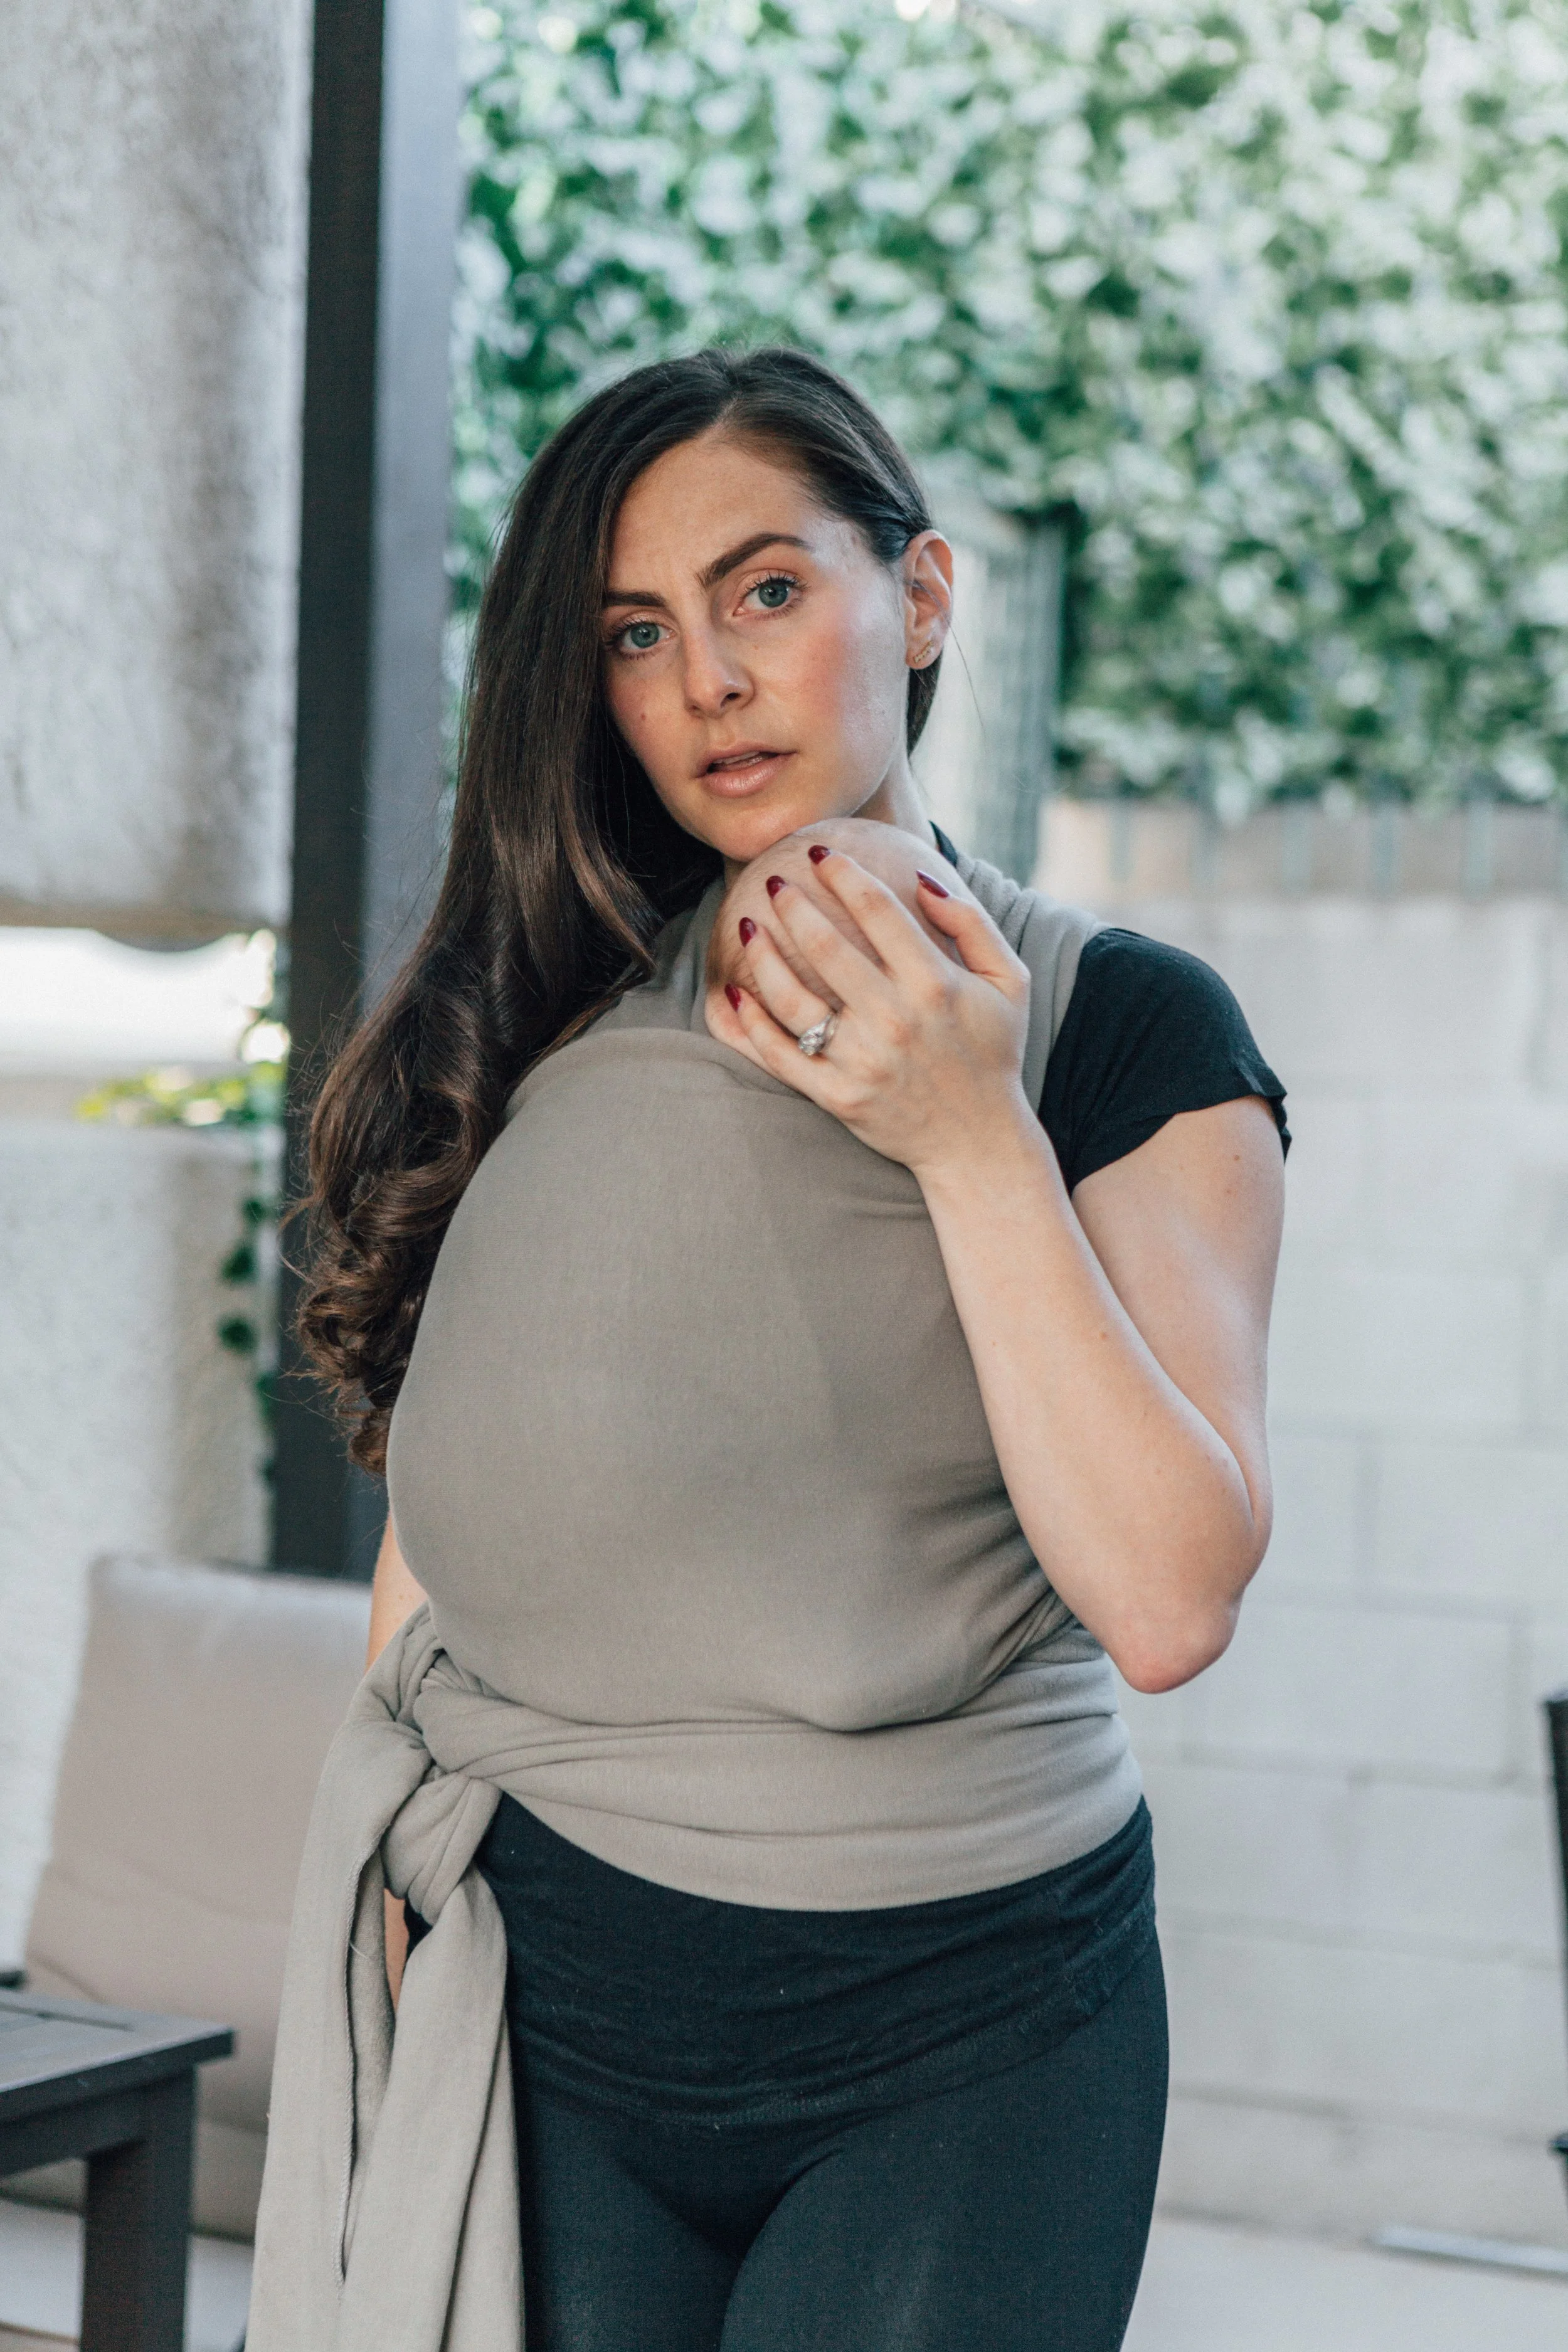
1) Unfold your wrap and find the Boba logo at the center. With the logo facing outward over your navel, cross the two outstretched pieces behind your back. Bring each side up and over your shoulders to the front while keeping the fabric stretched. Try to keep the fabric flat so it doesn’t twist.
2) Take both pieces in one hand and tuck them under the section with the logo on it while keeping the tension.
3) Pull down. The logo piece will rise to your chest and should be adjusted to fit snug and cling to your body.
4) Cross the pieces and bring them around your waist behind your back. Make sure that the pieces cross each other high on your chest area. Your sternum is a good reference point. There is no need to leave any extra space for your baby.
5) Cross the wrap behind your back and if there is enough fabric, bring it back to the front. You can tie a double knot behind your back, in the front or on your hip.
6) Voila! You have tied yourself a baby wrap. To place your baby safely inside, hold him or her facing you and securely and carefully pass his or her leg under the shoulder piece that is closest to your body.
7) Spread the fabric wide over your baby’s bottom, back and shoulder. The wider you spread it the more comfortable baby will be.
8) Tuck your baby under the second shoulder piece and spread out the fabric again. The fabric should be spread all the way out to the back of your baby’s knees on both sides.
9) Pull the logo piece of the fabric over your baby’s bottom and up to the back of their neck. Your baby’s legs can be inside or outside the fabric. All set!